How to Prepare Soil for Gardening (The Right Way, Learned the Hard Way)
The first time I tried growing tomatoes in my backyard, I did everything “right.” I bought the seeds, picked a sunny spot, watered them religiously. But by mid-summer, the plants looked like sad, yellow sticks barely clinging to life. I couldn’t figure it out — until a neighbor walked over, crouched down, grabbed a fistful of my soil, and said, “This is why. Your soil is basically dead.”
That moment changed everything I thought I knew about gardening. It turns out, the secret to a thriving garden has almost nothing to do with which seeds you pick or how much you water. It starts with the ground beneath your feet. Get the soil right, and everything else becomes surprisingly forgiving.
Here’s everything I’ve learned — sometimes painfully — about preparing soil for gardening.
Why Soil Preparation Actually Matters
Soil is not just dirt. It’s a living ecosystem full of microorganisms, fungi, minerals, air pockets, and organic matter — all working together to feed your plants. When you skip soil prep or do it poorly, you’re essentially asking your plants to survive on nothing. They’ll grow, maybe, but they’ll always be struggling.
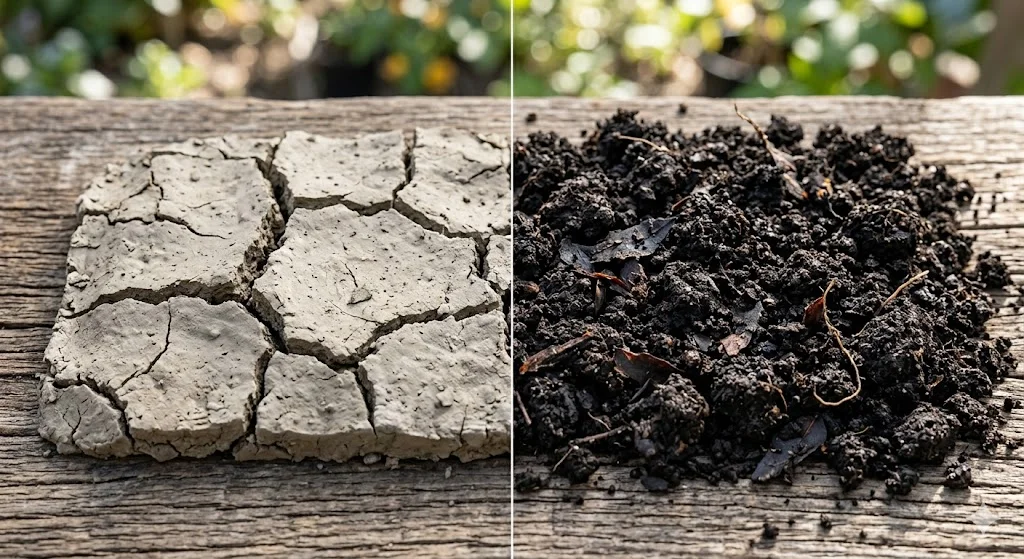
Healthy soil does three things well: it drains properly so roots don’t rot, it retains enough moisture so plants don’t dry out between waterings, and it holds nutrients that plants can actually absorb. Most garden soil, especially in urban or suburban areas, fails at at least one of these. Clay-heavy soil holds too much water. Sandy soil drains too fast. Compacted soil doesn’t let roots breathe.
The good news? You can fix almost any soil with the right approach. It just takes a bit of effort upfront.
Step 1: Test Your Soil Before You Do Anything Else
I skipped this step for years, just assuming my soil was “probably fine.” Don’t do what I did.
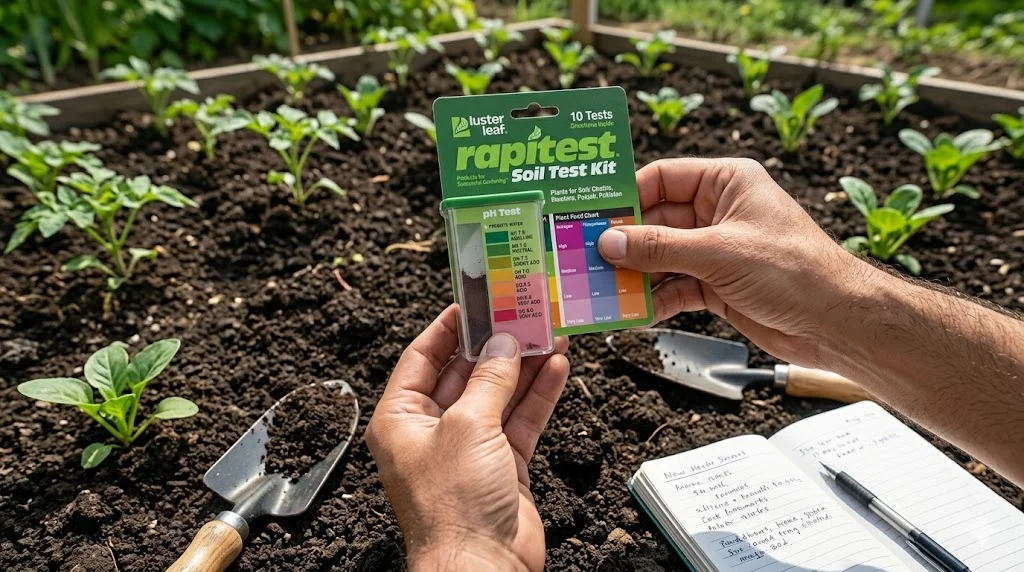
A basic soil test tells you your soil’s pH level and its nutrient content — specifically nitrogen, phosphorus, and potassium (the big three that plants need). You can pick up a simple at-home test kit from most garden centers for a few dollars. Brands like Luster Leaf Rapitest are popular and easy to use. If you want something more detailed, you can send a sample to your local agricultural extension office, which often does it for free or very cheaply.
What you’re looking for: most vegetables and flowers prefer a pH between 6.0 and 7.0. If your soil is too acidic (below 6.0), you’ll add lime to raise the pH. If it’s too alkaline (above 7.5), you’ll add sulfur to bring it down. The test results usually come with recommendations, so don’t worry about memorizing numbers.
Once I started testing, I discovered my soil was sitting at a pH of 5.2 — way too acidic for the vegetables I was trying to grow. No wonder everything kept struggling.
Step 2: Clear the Area Completely
Before you touch the soil itself, clear out the space you’re working with. Remove weeds — and I mean actually pull them out by the roots, not just cut them down. If you leave the roots, they’ll come back even stronger. I made this mistake with bindweed once and spent an entire season playing whack-a-mole with the stuff.
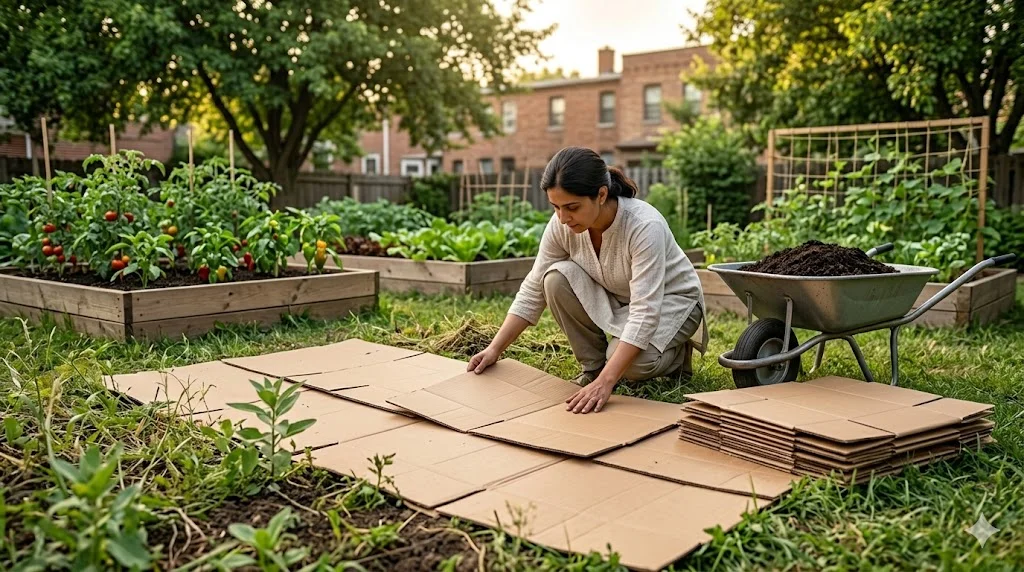
Also remove rocks, old root clusters, and any debris that would get in the way of root growth. If there’s grass in the area you want to convert into a garden bed, either dig it out or smother it with cardboard or newspaper a few weeks before you plan to plant. This is called sheet mulching and it’s genuinely one of the laziest-but-smartest tricks I know.
Step 3: Loosen the Soil (Tilling or No-Till — Know Your Options)
Once the area is clear, your soil needs to be loosened so roots can grow down and air can get in. This is where a lot of beginner gardeners either go too far or not far enough.
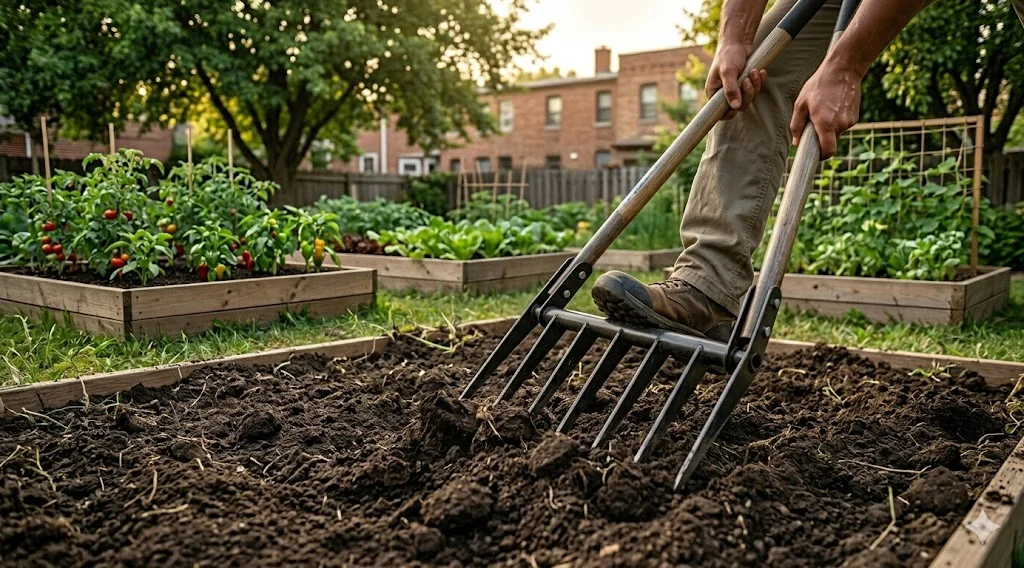
If you’re starting a new garden bed in an area that’s never been worked before, you’ll probably need to till — either with a garden fork, a broadfork, or a mechanical tiller if you’re working a large area. Dig down at least 12 inches, breaking up any large clumps as you go.
However, if you already have an established bed and just want to refresh it each season, consider a no-till approach. Over-tilling every year actually breaks up the soil’s structure and kills beneficial fungi called mycorrhizae that form a network around plant roots and help them absorb nutrients. I switched to mostly no-till for my raised beds a few years ago and the soil quality improved noticeably within one growing season.
For compacted soil specifically, a broadfork is fantastic. You push it into the ground with your foot, then rock it back and forth to break up deep compaction without fully inverting the soil layers.
Step 4: Add Organic Matter — This Is the Big One
This is the step that genuinely transformed my garden. Organic matter — compost, aged manure, leaf mold — is basically superfood for your soil. It improves drainage in clay soils, helps sandy soils hold moisture, feeds soil microbes, and slowly releases nutrients to your plants over the entire growing season.
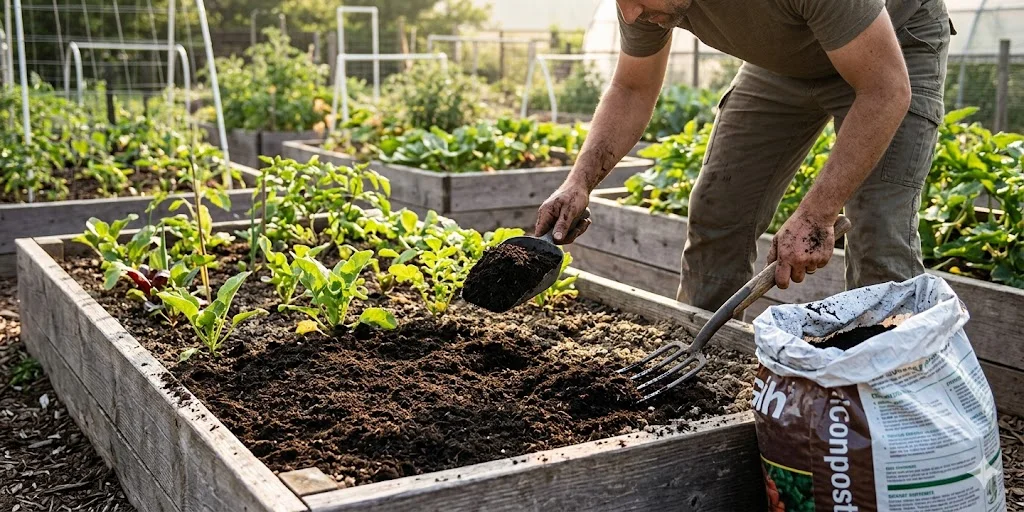
Compost is the gold standard. If you’re not already composting kitchen scraps and yard waste, this is the year to start. It takes a few months to make a proper batch, but it’s worth it. In the meantime, you can buy bags of finished compost from garden centers or sometimes get it in bulk from municipal composting programs — many cities offer it free or at low cost.
Spread a 2-to-4-inch layer of compost over your bed and work it into the top 6-8 inches of soil. Don’t just dump it on top and hope for the best — mix it in properly.
Aged manure (from cows, horses, chickens, or rabbits) is another great amendment, but make sure it’s aged or composted, not fresh. Fresh manure can burn plant roots and may carry pathogens. I once grabbed what I thought was “composted” horse manure from a farm, and it turned out to be fresh. My seedlings were not happy.
Step 5: Correct the pH if Needed
Now that you know your pH from Step 1 and you’ve added your organic matter, it’s time to correct any pH imbalance.
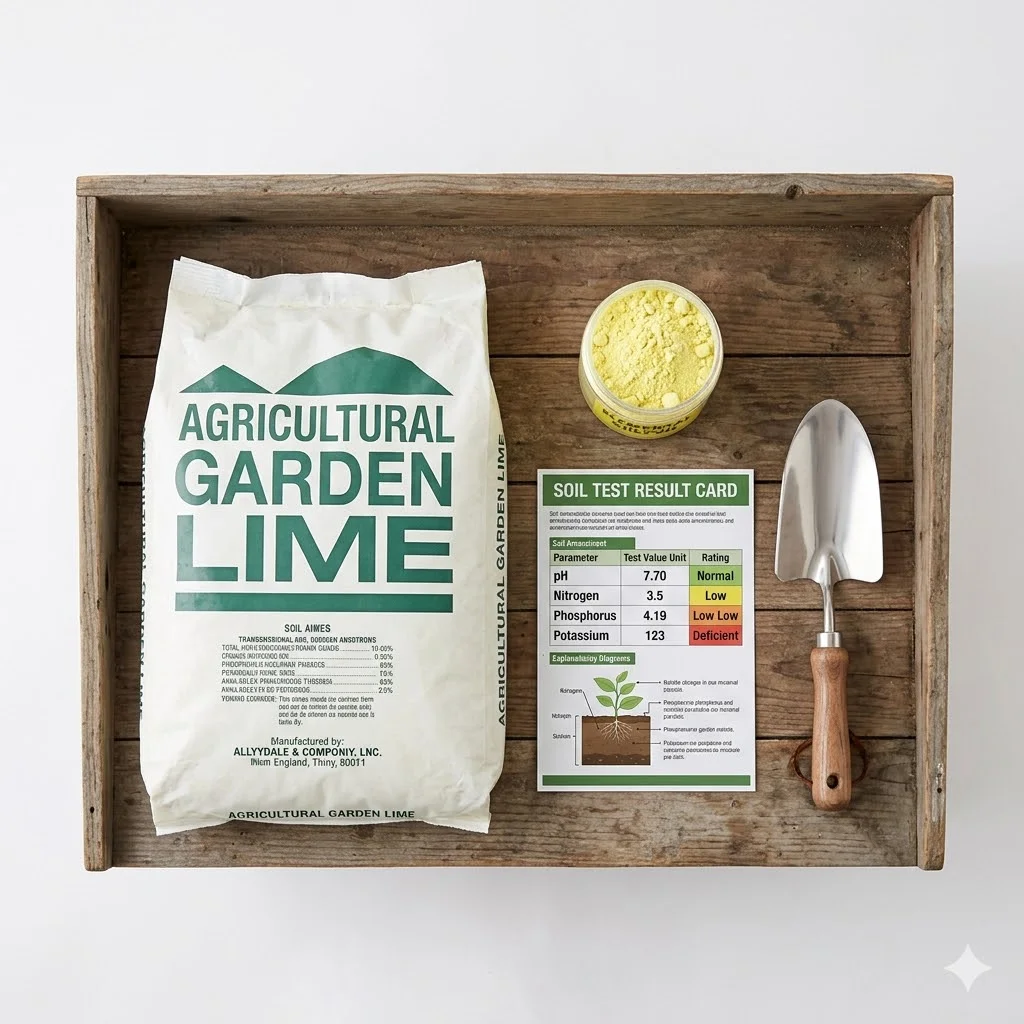
To raise pH (make soil less acidic): Add agricultural lime (also called garden lime). Work it into the soil well and water it in. It takes a few weeks to fully take effect, so do this before you plan to plant if possible.
To lower pH (make soil less alkaline): Add elemental sulfur or peat moss. Sulfur works slowly — it can take several months — so plan ahead. For a faster fix, aluminum sulfate works more quickly but can accumulate in the soil if overused.
Always follow the recommended amounts on the package based on your soil test results. More is definitely not better here.
Step 6: Add Fertilizer Based on What Your Soil Is Missing
If your soil test showed deficiencies in nitrogen, phosphorus, or potassium, this is when you address them. A balanced granular fertilizer like a 10-10-10 blend is a good general starting point if you’re not sure where to begin. Work it into the soil according to package directions.
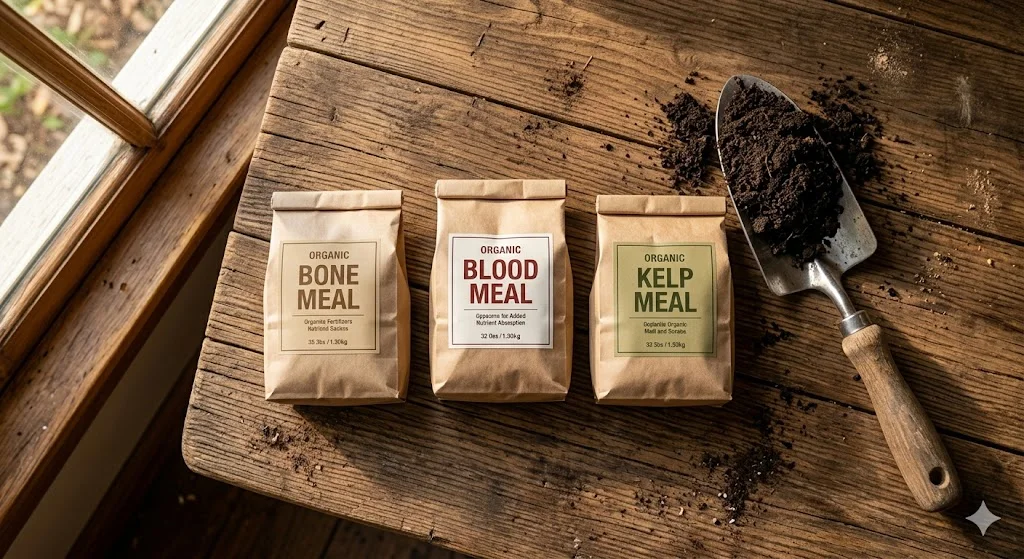
For organic gardeners, bone meal is great for phosphorus, blood meal boosts nitrogen, and kelp meal or greensand helps with potassium and trace minerals. I use a combination of these in my beds every spring and the results are consistently better than when I relied solely on synthetic fertilizers.
Step 7: Rake, Level, and Let It Rest
Once everything is mixed in, rake the surface smooth and level. This isn’t just for looks — an uneven surface leads to pooling water in low spots and dry patches in raised areas.
If you have time, let the prepared bed rest for a week or two before planting. This gives everything time to settle and lets the soil microbes start breaking down the organic matter you added. If you’re in a rush, you can plant right away — just be aware that freshly turned compost takes a little time to fully integrate.
Common Mistakes That’ll Set You Back
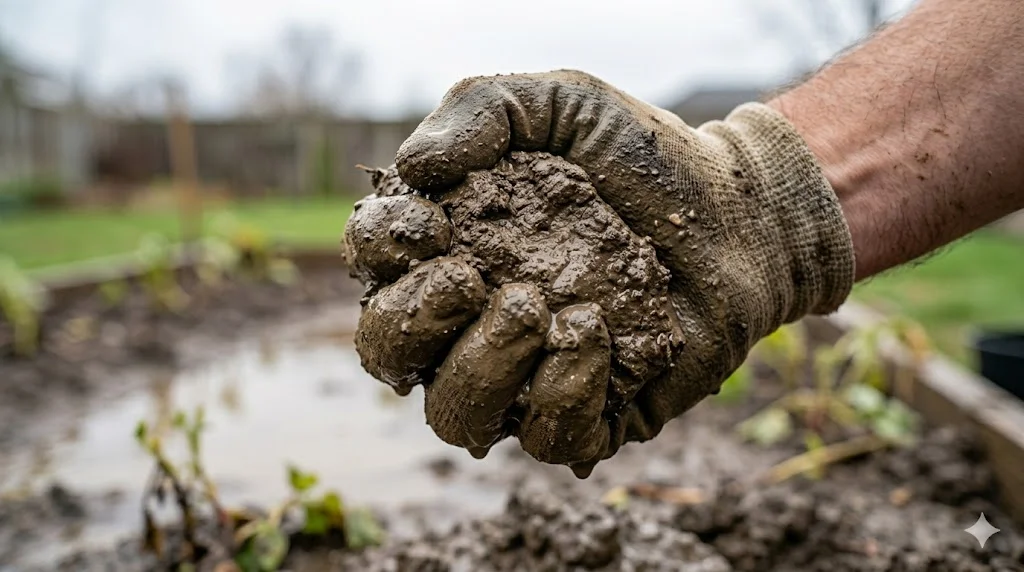
Working wet soil is one of the biggest ones. If you squeeze a handful of soil and it stays in a tight ball without crumbling, it’s too wet to work. Digging or tilling wet soil destroys its structure and creates hard, dense clumps that are miserable to break up later. Wait for drier conditions.
Another mistake: adding too much of one thing. More compost is generally fine, but too much lime, too much fertilizer, or too much manure can actually harm your plants. Always test first, then amend based on what’s actually needed.
And please don’t neglect the space around the edges of your bed. Weeds don’t care that you worked hard on the middle section — they’ll creep in from the sides. A layer of wood chip mulch around the perimeter after planting does a lot to hold them back.
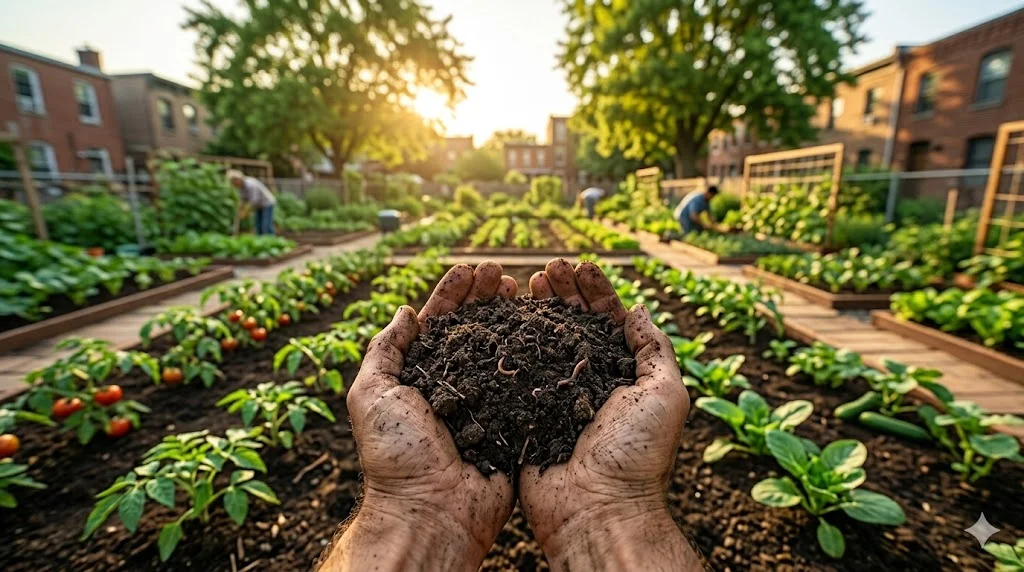
What Good Soil Actually Looks Like
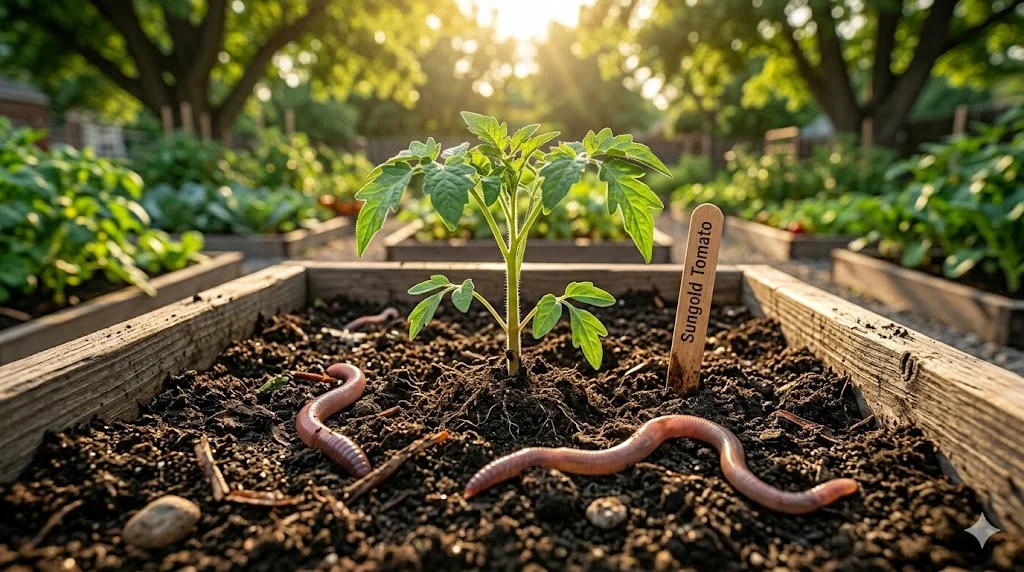
After a season or two of proper soil prep, you’ll notice the difference immediately. Good garden soil is dark brown to almost black, smells earthy (not sour or rotten), crumbles easily in your hand, and is full of earthworms. Earthworms are genuinely one of the best signs that your soil ecosystem is healthy — they aerate the soil naturally and their castings are incredibly rich in nutrients.
My garden beds now barely resemble the clay-heavy, compacted mess I started with eight years ago. Every season I add another layer of compost, do a quick pH check, and the plants just respond. Bigger, healthier, more productive — without fighting them every step of the way.
The effort you put in before a single seed goes into the ground is what determines everything that comes after it. Spend time on your soil and your garden will spend the rest of the season thanking you for it.


