How to Clean a Microwave with Vinegar and Lemon (The Way That Actually Works)

Last Tuesday, I opened my microwave to heat up some leftover pasta and immediately regretted not closing it faster. There was this crust of dried tomato sauce on the ceiling of the microwave that had clearly been there for a while. And the smell — a weird combination of popcorn, fish, and something I couldn’t quite identify. I’d been ignoring it for weeks, doing the classic “I’ll deal with it later” routine until later became embarrassing.
Sound familiar? Yeah, I thought so.
Here’s the thing — I used to scrub microwaves the hard way. Paper towels, elbow grease, maybe a drop of dish soap, and about 20 minutes of frustration where I’m basically arm-wrestling dried food off the interior walls. It never felt clean after, just less visibly dirty.
Then a friend mentioned the vinegar and lemon trick. I was skeptical at first because it sounded too simple. But I tried it, and honestly, it changed the way I think about cleaning in general.
Let me walk you through exactly what I do now — and what I learned the hard way.
Why Vinegar and Lemon Work So Well
Before we get into the steps, it helps to understand why this combo is so effective. Not because you need a chemistry lesson, but because once you get it, you’ll stop second-guessing the method.
White vinegar is mildly acidic, which means it breaks down grease and food buildup without scratching surfaces. It also neutralizes odors instead of just masking them. That’s key. A lot of microwave sprays just cover up the smell with something artificial, which fades fast and leaves a weird film.
Lemon does double duty. The citric acid in lemon juice helps cut through grime just like vinegar, but lemon also leaves behind a fresh, clean scent that doesn’t smell chemical-y. Together, they create steam that loosens everything stuck to the walls, ceiling, and floor of your microwave — without you having to put in much effort at all.

I also love that both ingredients are non-toxic. I’ve got kids at home, and knowing that I’m not coating the inside of an appliance that heats our food with harsh chemicals matters to me.
What You’ll Need
You don’t need to run to the store for this. Everything is probably already in your kitchen.
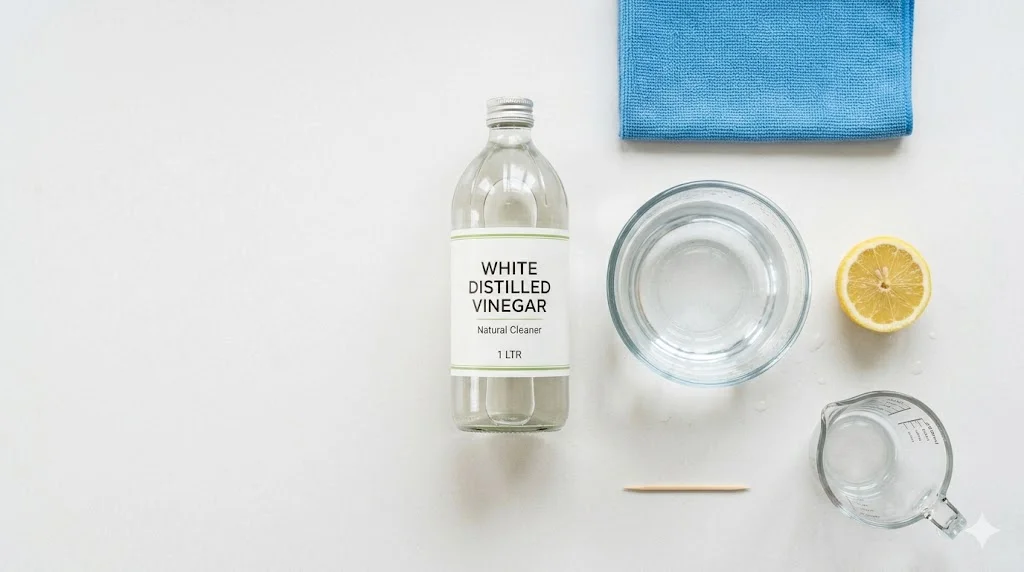
White distilled vinegar — regular white vinegar from the grocery store. Not apple cider vinegar, which smells stronger and doesn’t rinse as cleanly.
One lemon — fresh is best, but bottled lemon juice works in a pinch. I’ve used both.
A microwave-safe bowl — I use a medium glass bowl. Ceramic works too. Just avoid plastic since it can warp or absorb the smell.
Water — plain tap water is fine.
A clean cloth or sponge — I prefer a microfiber cloth because it doesn’t leave lint behind.
A wooden toothpick or skewer (optional but smart — I’ll explain why in a second)
That’s genuinely it. No special cleaners, no scrubbing pads needed.
Step-by-Step: The Vinegar and Lemon Cleaning Method
Step 1 — Prep Your Cleaning Solution
Fill your microwave-safe bowl with about one cup of water. Squeeze half a lemon into it and drop the squeezed lemon half right into the bowl too. Then add two tablespoons of white vinegar.
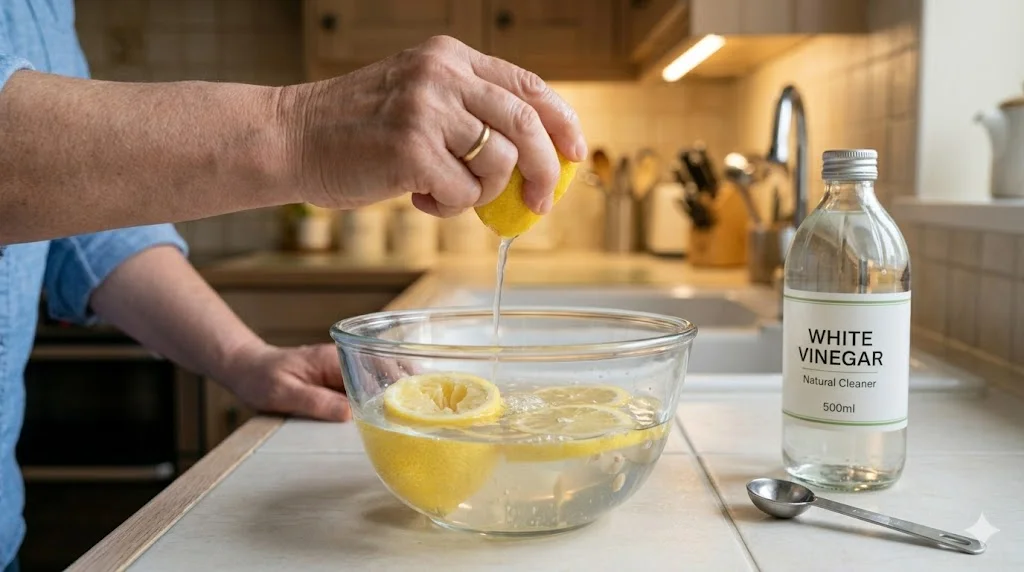
The lemon half in the bowl is something I picked up after a few tries. It increases the lemony steam and somehow makes the whole thing smell less sharp during the heating process.
Give it a quick stir and you’re ready.
Step 2 — The Wooden Toothpick Trick
This one sounds random but trust me — place a wooden toothpick or small wooden skewer into the bowl before you microwave it.
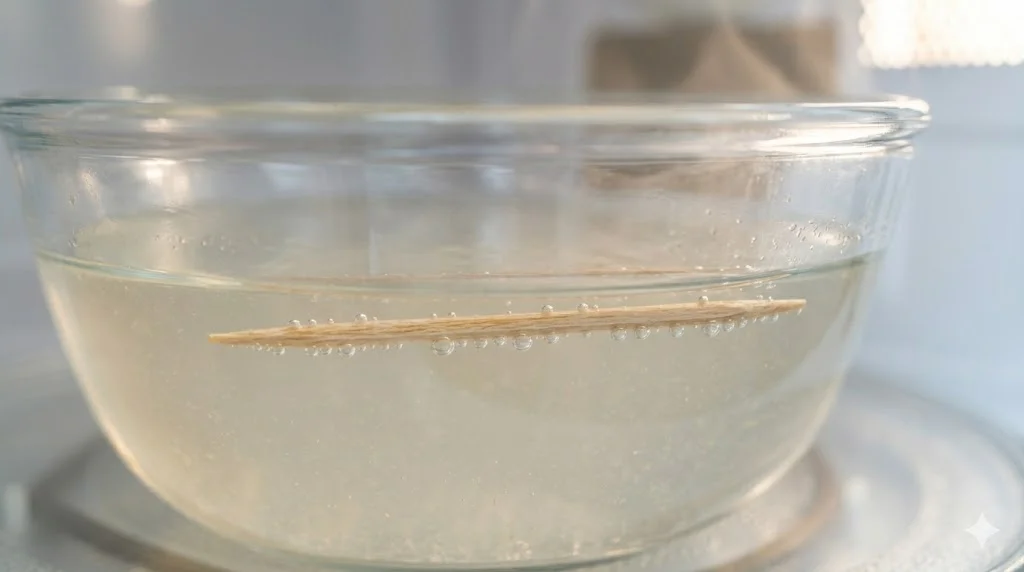
Water superheats in a microwave sometimes and can boil over suddenly and explosively. This is called “superheating” and it’s more common than you’d think. A wooden object in the bowl gives the bubbles a surface to form on, which prevents that. I learned this after one very startling experience where the bowl basically erupted. No fun.
Step 3 — Microwave on High for 5 Minutes
Put the bowl in the microwave and run it on high for five minutes. You’ll see steam building up on the inside of the door pretty quickly. That’s exactly what you want.
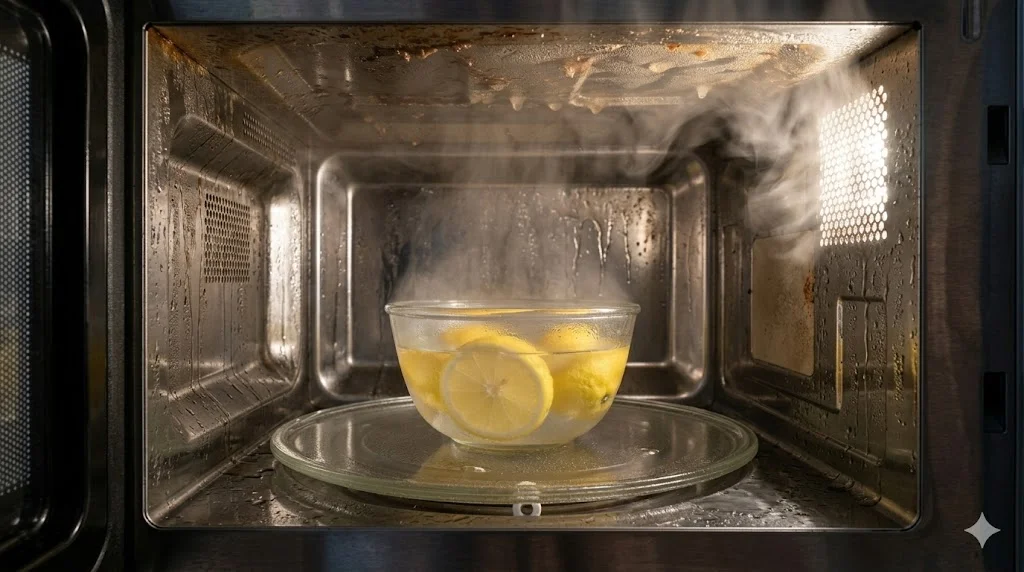
Let the microwave run its full cycle, then leave the door closed for another two to three minutes. This is the part most people skip, and it makes a huge difference. The trapped steam continues working on all that dried food while you’re just standing there. Don’t rush it.
Step 4 — Remove the Bowl Carefully
The bowl and the water will be very hot. Use oven mitts or at least a folded kitchen towel to take it out. Set it aside somewhere safe.
Now look inside your microwave. You’ll probably notice the walls look wet and the grime has already started to look soft and loosened. This is the moment everything wipes away easily.
Step 5 — Remove and Clean the Turntable

Take out the glass turntable plate and wash it separately in the sink with regular dish soap. This is easier than trying to wipe around it, and it always needs a proper wash anyway. A lot of buildup hides around the edges of the turntable that you can’t reach well when it’s still inside.
Step 6 — Wipe Everything Down
Now take your microfiber cloth or sponge — dampened slightly with the leftover vinegar-lemon water from your bowl — and wipe down the inside ceiling, walls, and floor of the microwave.
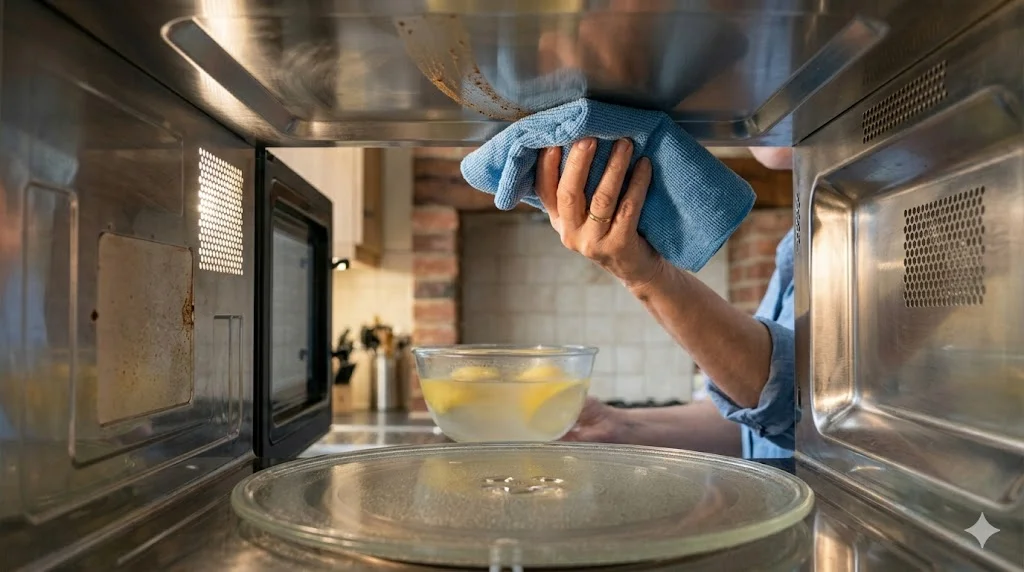
In most cases, the gunk comes right off with almost no pressure. If there are stubborn spots, just apply a little more of the solution and let it sit for thirty seconds before wiping again. The first time I did this, I was genuinely shocked at how little effort was involved compared to my old method.
Don’t forget the inside of the door. That gets surprisingly dirty and is one of the most overlooked spots.
Step 7 — Dry It Out
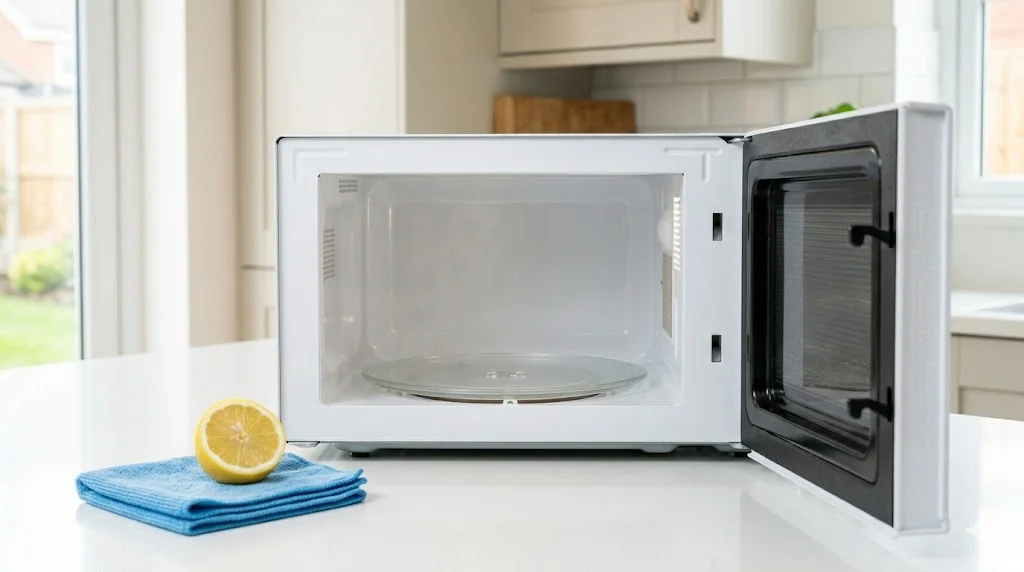
Use a dry section of your cloth to go over everything again and remove any excess moisture. Then replace the turntable, leave the door open for five minutes, and let it air out.
The lemon smell fades to almost nothing within an hour, leaving your microwave smelling clean and neutral — not perfumed, just genuinely clean.
Mistakes I’ve Made (So You Don’t Have To)
Using apple cider vinegar. I ran out of white vinegar once and figured it was the same thing. It’s not. The smell is stronger and more lingering, and I was opening windows afterward. Stick to plain white distilled vinegar.
Not waiting after the microwave stops. The first time I tried this method, I opened the door right away and wiped immediately. It worked, but not nearly as well as when I let the steam sit. Those extra two to three minutes with the door closed are doing real work.
Skipping the toothpick. I’ve mentioned this twice now because I really want you to not skip it. The superheating thing is genuinely startling and could burn you.
Using too little solution. If your bowl only has a thin layer of liquid, it evaporates too fast and doesn’t generate enough steam. Fill it with at least a cup of water.
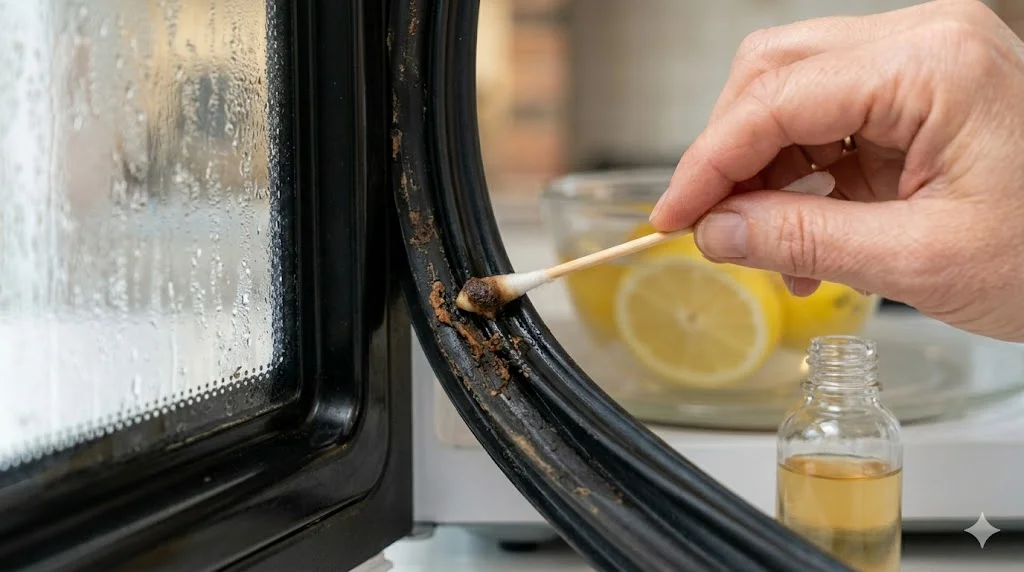
Forgetting the door frame and edges. The rubber seal around the inside of the door collects grime. Use a cotton swab with a little of the leftover solution to clean around that seal. It makes a visual difference.
How Often Should You Do This?
Honestly, once a month is enough if you’re wiping down the inside with a damp cloth every week or two. If you’ve got a busy household or someone who microwaves pasta with the lid off regularly (I’m not naming names), once every two to three weeks keeps things manageable.
I also do a quick version — just lemon water, no vinegar, three minutes — whenever I notice a smell developing. That’s usually enough to reset things before they get bad.
A Few Extra Tips Worth Knowing
The outside of your microwave matters too. After cleaning the inside, wipe down the exterior with a damp cloth. The handle especially gets grimy from constant touching. A drop of dish soap on the handle and a quick scrub takes ten seconds.
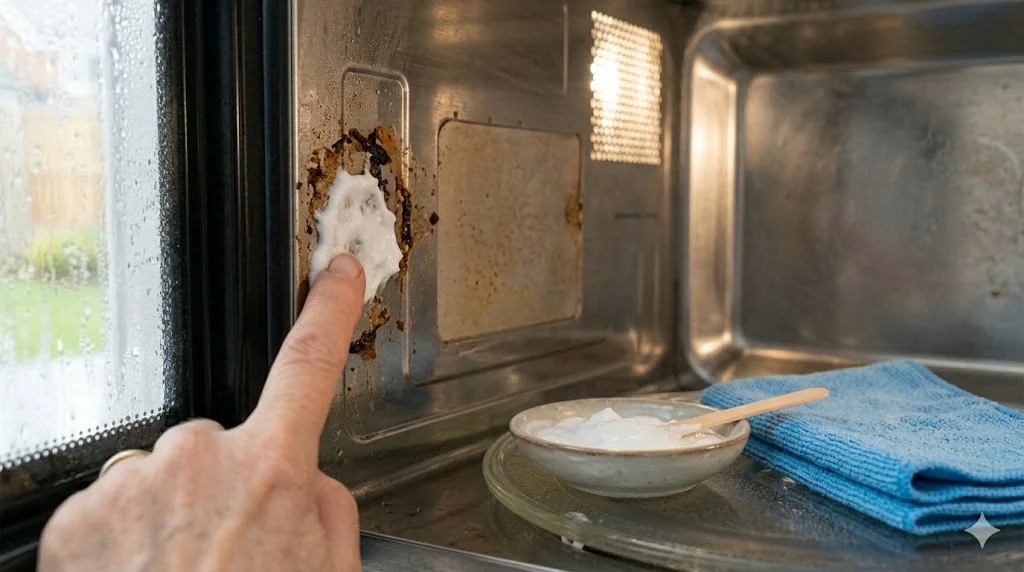
Baking soda as a backup. If after the steam treatment you still have a spot that won’t budge, make a small paste of baking soda and water, apply it directly to the spot, leave it for a minute, and wipe away. This has never failed me on even the most stubborn burned-on residue.
Avoid abrasive scrubbers. Steel wool or harsh scouring pads can scratch the interior coating of your microwave, which makes it harder to clean in the future and can eventually compromise the surface. Soft cloths and sponges only.
The Part Nobody Talks About
The real reason this method wins over commercial microwave cleaners isn’t just effectiveness. It’s the fact that you’re not heating food in a box coated with chemical residue.
A lot of spray cleaners leave a film that takes multiple rinse-wipes to fully remove, and you’re never entirely sure you got it all. With vinegar and lemon, there’s nothing toxic in the first place. Wipe it, dry it, done.
It also costs almost nothing. A bottle of white vinegar runs under a dollar, and you’re using maybe a quarter of a lemon. Compare that to a bottle of microwave cleaning spray that costs several times more and doesn’t even work as well.
This is one of those home hacks that sounds too simple to be real until you actually try it. I wish I’d known it years before I did. My old self who spent twenty minutes scrubbing a microwave with dish soap and paper towels would have genuinely appreciated the heads-up.


